2016年4月27日星期三

Final Objects

 
Top 
 

 Curve  


 Other Side


 Bottom


 Back


 Straight


 Conner 


Back


Thanks For my mates and tutors' help, Annie, Josh, Louis, Jason, Elijah, Anthony, Russel.

2016年4月26日星期二

Metal Sheeting

The Metal Sheeting process is quite exciting, try different tools and equipment to get the shape I want. I took photos of the process to record the whole workflow. Thanks my mate and Anthony's help, I can't finish this great piece without your help, Thanks!

 
Left Hand and Right Hand 


Anthony draw the line on plywood to show me how to cut the shape and where should cut more for later use. 


 First shape I cut, not a good start.

 The radius of this is close to the top of my object, use it as a base, then use hammer to slightly hit the metal on it 

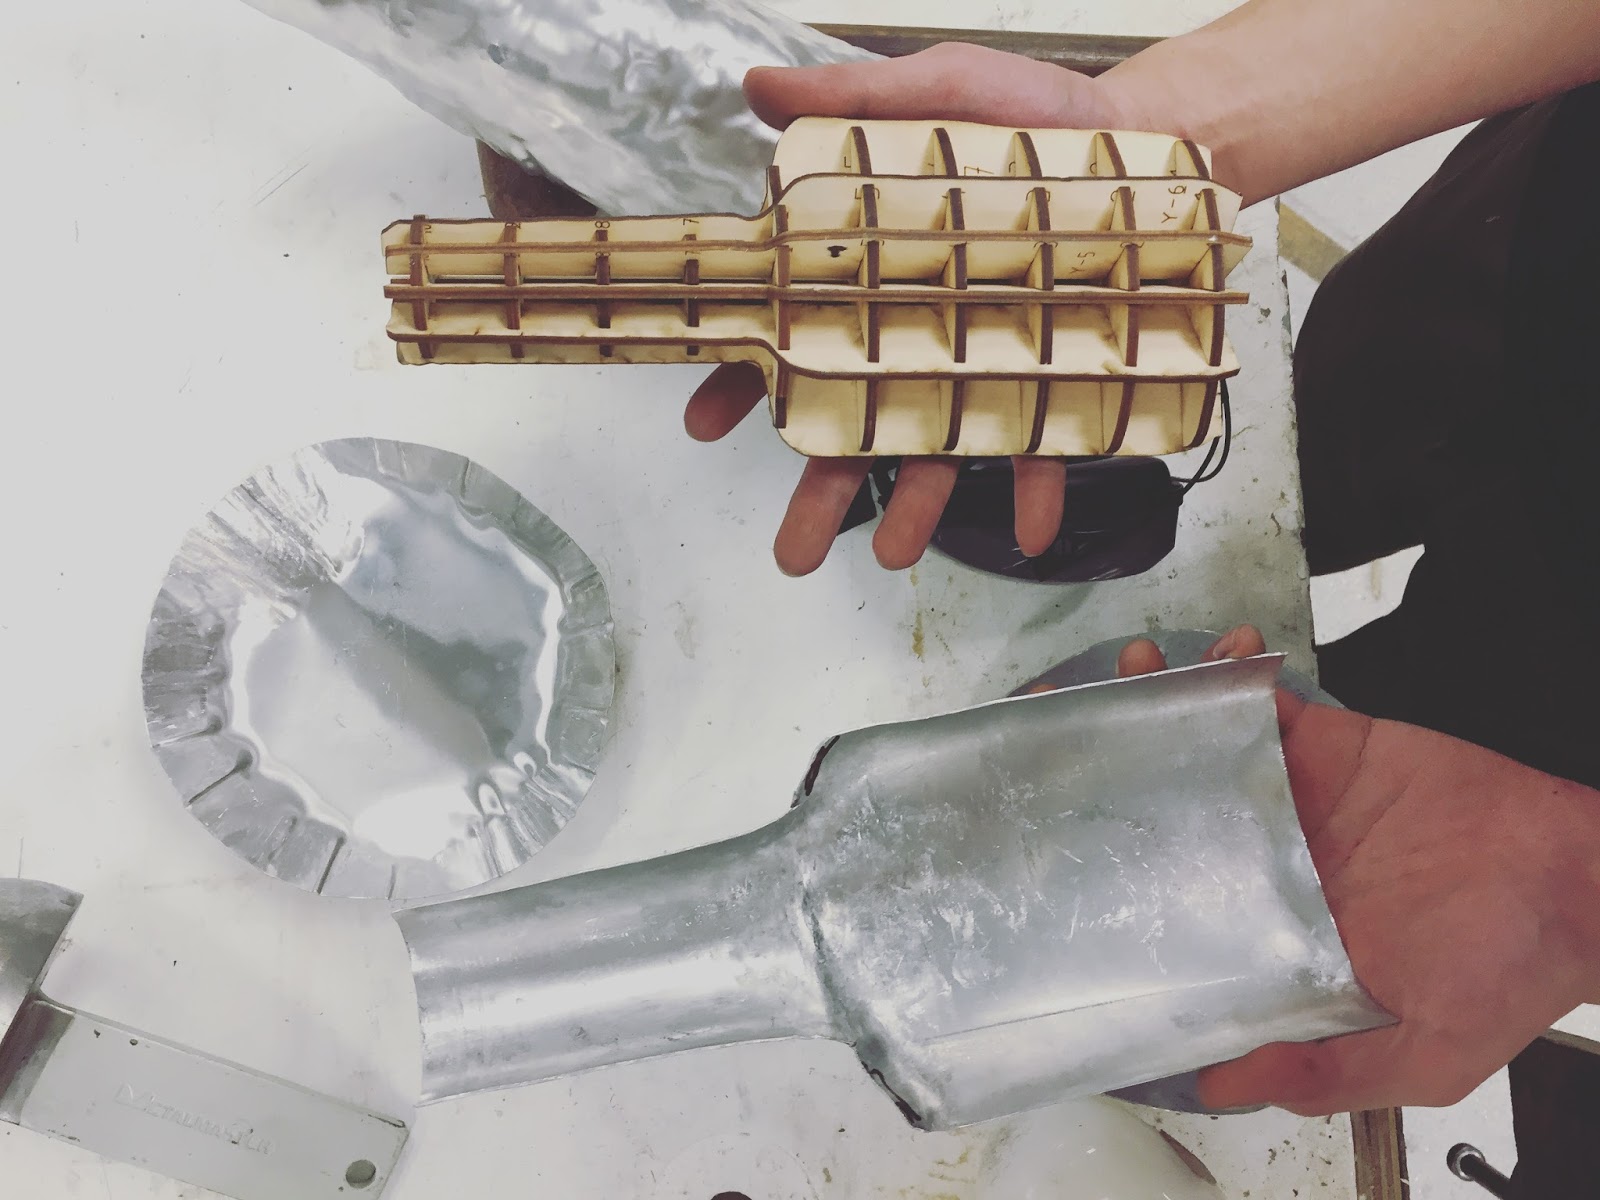
       These tools are used  for my objects.


 Flat, fat surface hammer is good for edge fixing, after that use steel hammer. 


Get the rough shape after whole afternoon work, pretty rough, but it is happy to see something coming.


Working and comparing, then working and comparing is the workflow for this projects!!!!!!


Second day, Anthony showed me how to hit the connection line in, we can see the curve now, and still need to be fixed more 


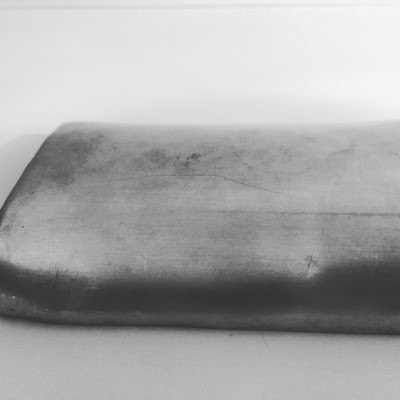
The skin is close to the final result, but the connection should be more smooth, Another half day passed .


 Working on the connection, carefully hit and knock


2016年4月25日星期一

Laser cut and Final template

When I finished my 123D make slice, I exported the Pdf file and then imported to the Illustrator to set the line weight and the color. The line weight for the fab lab laser cut machine is smaller than 0.001mm and the color should be red (255,0,0). Then the file can be used to laser cut.
Try to think more before you start to print, I laser cut 3 times and then finally put the model together.


Think about the material 
Some material should work for your model but not mine, strongly recommend 1.6mm or 3mm plywood for laser cut and metal shaping. Strong and Strong

Think about the thickness
Some material is hard to put together, u can sand the slot later or adjust the thickness first befor you print.

Think about the file you cut is your latest one
One time, when I finished laser cut and start to put them together, I found there are 6 pieces missing, and then I realized I print the wrong file

Think about the Fablab computers log off time
The Fablab computers would automatically logoff in 15 min, once it logoff and then the laser cut machine would start from the beginning, be aware of it, play with mouse or keyboard, don't go out for lunch when you print your document.


Laser Cut File


 Wrong Size hard to put together


 Laser cut Wrong Files


 Final Objects


Final Objects 


  Final Image


123D Make

Import the 123d catch file( named .obj) to the 123D make, the magic happened.
We can created different various ways of laser cutting method. Some of them would work on your shape, but some would not. Sometimes I would change the 1st and 2nd axis to adjust the number of the slices to let it work, if that failed, then I would use the different cutting angles to get the final result.


Change Slices Number


Different Slice Angle 


My final result is a radical sliced model, which is stable, but also perfectly shows the curve on the different ways, especially on the bottom and the top.


Curve


Interlocked Slices


Final Results ( Radical slices)


Here is a important tip for you guys,
When you open the file, the first thing you should and always keep in mind is to set a custom page for your model. In this case, the page file should be 300*600, which is the material size you can get from the lab and for the laser cut machine. The thickness should be a little bit larger than the material you want to use, for example, if you want to use 3mm plywood, the thickness should be more than 3.3mm which will let u put your slices together more easier.


Page Settings


And when you shape your model, you can use ShrinkWrap tool from Modify tool bar to slightly fix your model.

ShrinkWrap Tool


123 Catch

Once I got the shape, (it took me long time to wait) I started to finalize my object's shape on 123 Catch. The tool I used on the Catch to cut extra background called lasso tools. You can easily select the parts you don't want, it would turn to the red color and then right clicked and delete it. If you want a precise model, do the cut carefully and probably zoom in to cut the fine edge.


Lasso tools


Original file


Cut the background

Found The Object

As a architecture student, the glue probably is one of the most important objects on my studying, not only for model making, sometimes for fill some gap on the normal day. Each type of glue has its own characteristics and functions, but I love to use Zap A gap more than others. Zap a Gap Adhesives are renowned for their gap filling formula and bonding virtually anything and known for working on oily surfaces. It dried quick and combine things quickly.
Once I got the object, I started to use 123catch App to shoot the photos and create the rough shape on my laptop. This process took long time to catch the clear objects, I caught more than 8 set of photos to finish this. There are two tips I can write down and share with you guys.

1.Object
The object should be 'solid', like my one has a transparent skin which would give the wrong message to computer and then create a wrong shape with wrong detail. So what I did is to use marker to color the skin with different color to let the computer more easily distinguish the object and generate the right shape later.


Color the objects

2.Environment
Light is important here, and don't put the objects under the exposure light when you catch the photos. Background should not be same, like pure white or black background. When I took the photos, I put the objects on the large cutting mat with grid on the workshop table, the light condition there is good, so it will generate the shape more quickly for us within this environment.